
Looking for a clean, trendy, and sharp hairstyle? The burst taper fade haircut might be just what you need. Known for its distinct curved fade around the ear and tapered sides, this haircut suits various face shapes and works well with most hair textures—from straight to curly. Whether you’re heading to the barber or trying it yourself, this step-by-step guide will walk you through everything you need to know. For more on this topic, read our guide on Taper Fade Mullet Tutorial: Step-by-Step Cutting Instructions. For more on this topic, read our guide on Blowout Taper Fade: Step-by-Step Styling Instructions. For more on this topic, read our guide on Is the Burst Fade a Mullet? Key Differences and Why the Hybrid Works.
What Is a Burst Taper Fade Haircut?
A burst taper fade haircut features a gradual fade that “bursts” around the ear and blends into the neckline. Unlike a traditional taper fade that goes straight down, the burst fade curves naturally around the ear. It’s a favourite in modern men’s haircut trends, especially when combined with styles like a mohawk, curly top, or textured crop.
The look is all about balance—clean edges, stylish layers, and just enough edge to stand out without looking over-the-top.
Who Can Wear It?
Whether you’ve got thick, curly hair or fine, straight strands, the burst taper fade can be customised to suit your unique hair texture and face shape. It’s especially popular among:
- Men with curly hair (perfect for a curly hair burst taper fade)
- Those looking to combine the fade with a beard for a bolder style
- Guys who prefer low-maintenance haircuts with sharp detail
Tools You’ll Need
Before starting your haircut, gather these basic tools:
- Hair clippers (with guards)
- Trimmer or edger
- Barber comb
- Haircut scissors
- Mirror (ideally two for a back view)
- Styling products like matte pomade or grooming cream
Burst Taper Fade Haircut: Step-by-Step Guide
Let’s dive into the step-by-step burst taper fade tutorial. You can do this at home if you’re comfortable with clippers, but for precision and clean results, visiting a professional barber is always recommended.
Step 1: Prepare the Hair
Start with clean, dry hair. Use a barber comb to detangle and part the hair according to the desired top style. Decide if you’re going for a full mohawk, faux hawk, or simply keeping the top longer for volume.
Step 2: Define the Burst Area
Using a trimmer or clippers with no guard, outline the fade’s shape. Begin behind the ear and draw a curved line going down toward the neckline. This will be the lowest point of the fade.
Make sure it curves naturally along the head shape. The goal is to form that signature “burst” look that wraps smoothly around the ear.
Step 3: Start the Fade
Switch to a clipper with a #1 guard and begin fading upwards from the curved line you’ve just created. Use a flick-out motion as you move higher to ensure a clean taper fade haircut. Switch to a #2 guard as you move higher up, and gradually blend into the top hair length.
Repeat this process on both sides, always keeping the fade hairstyle symmetrical and smooth.
Step 4: Taper the Neckline and Sideburns
This is where the burst taper gets its sharpness. Use a #0 or open blade to taper the very edge of the neckline and sideburns. Blend softly into the skin for that flawless finish.
Use your edger or trimmer to clean up the hairline and ensure the curves are sharp. This adds the polished look that defines most modern men’s haircuts.
Step 5: Blend the Top (Optional)
If you’re blending the top into the fade, use scissors or a longer guard (e.g. #4 or #5) to trim and layer. For those going for a mohawk or textured top, keep the hair longer and style it using grooming products like matte wax or styling cream.
Style Variations to Try
Once you’ve mastered the basic fade, here are a few ways to elevate your style:
1. Burst Taper Fade with Curly Hair
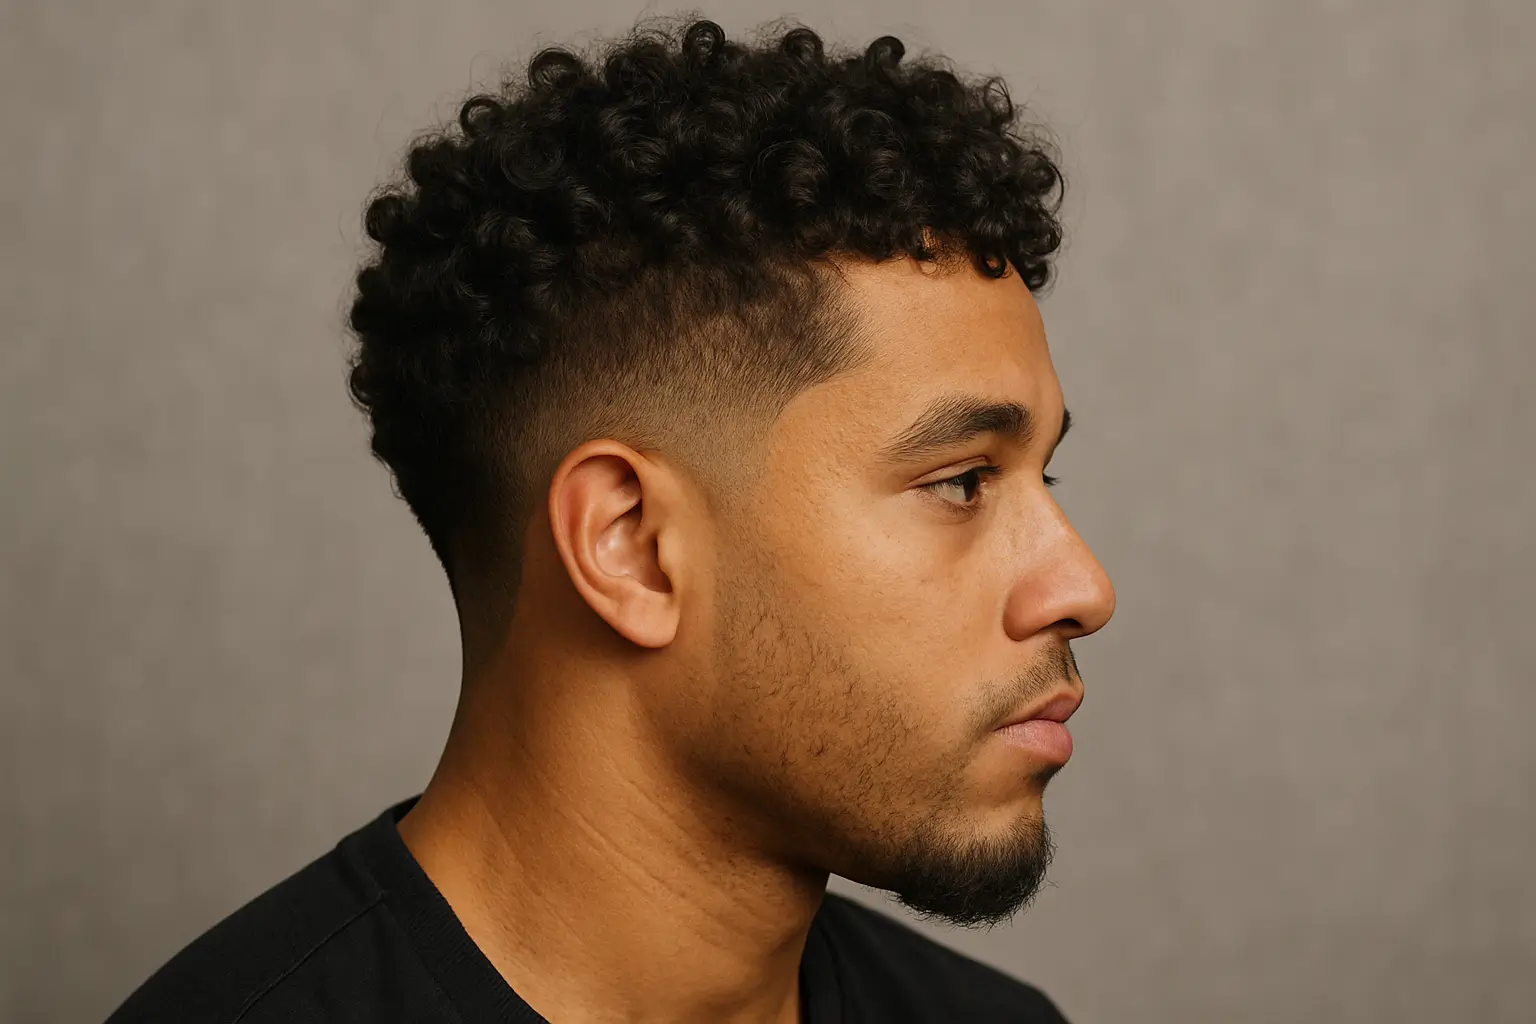
Curly hair works beautifully with this fade. Keep the curls natural and let them sit on top while the sides stay tight and tapered. It’s low-maintenance and stylish.
2. Burst Taper Fade with Beard
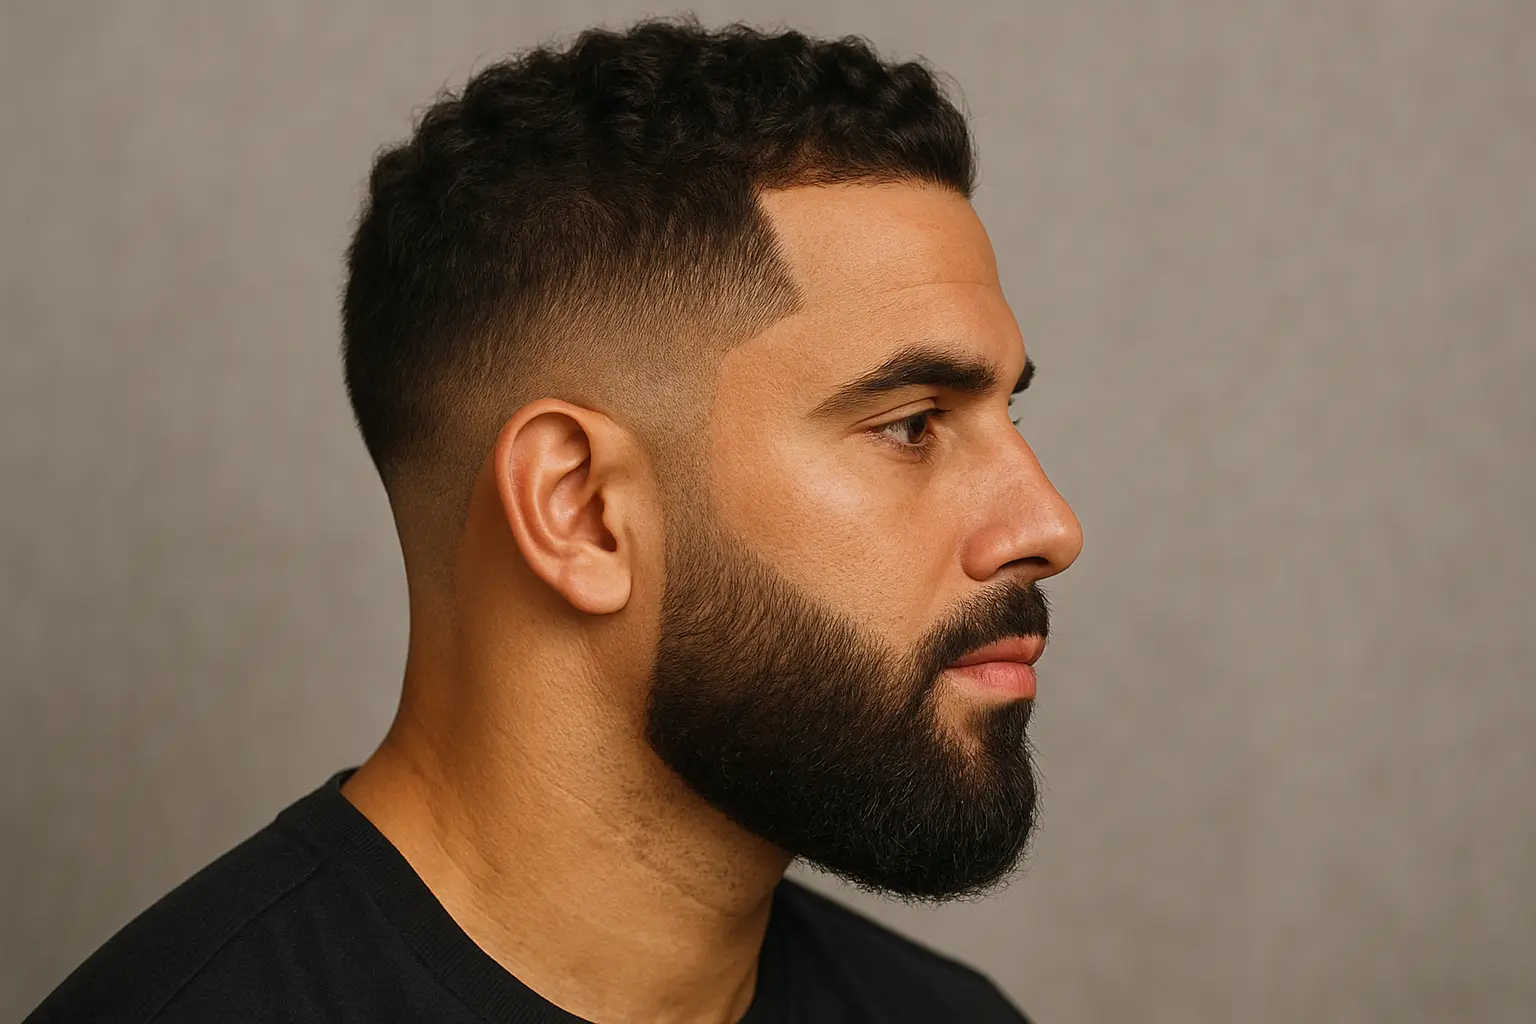
Pairing this haircut with a faded beard adds extra sharpness. Make sure the beard fade follows the same curved taper as the sides for a seamless blend.
3. Burst Taper Fade with Design
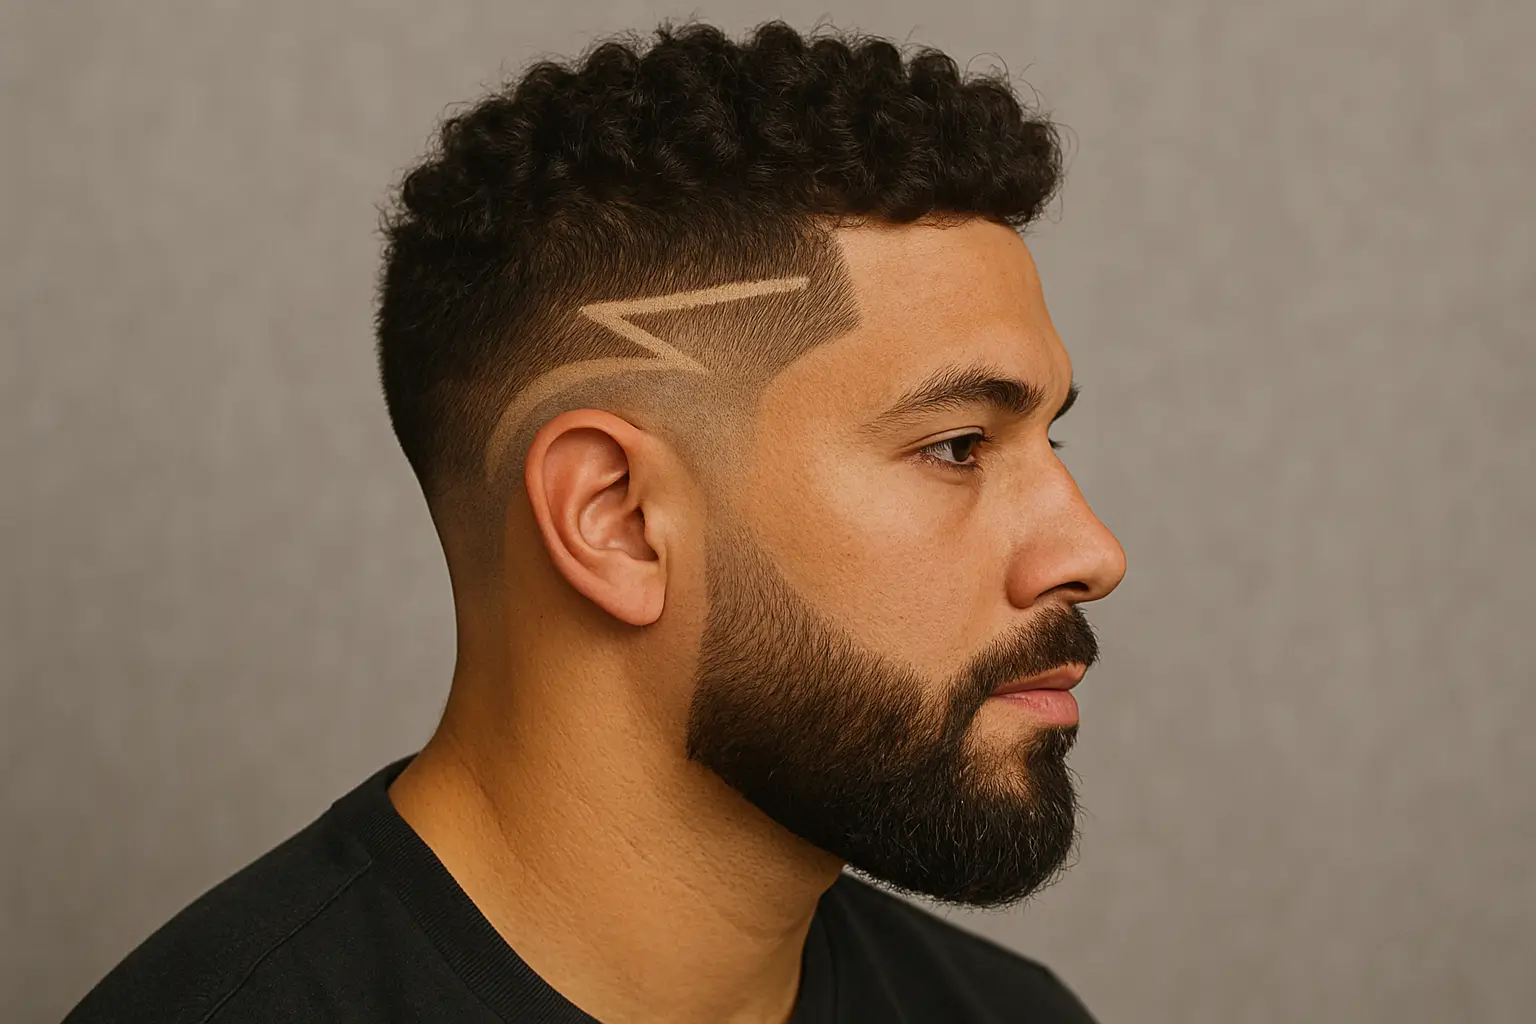
Add a razor design or line-up into the fade area for an extra edge. Popular choices include arrows, waves, or geometric patterns.
4. Burst Taper Fade for Straight Hair
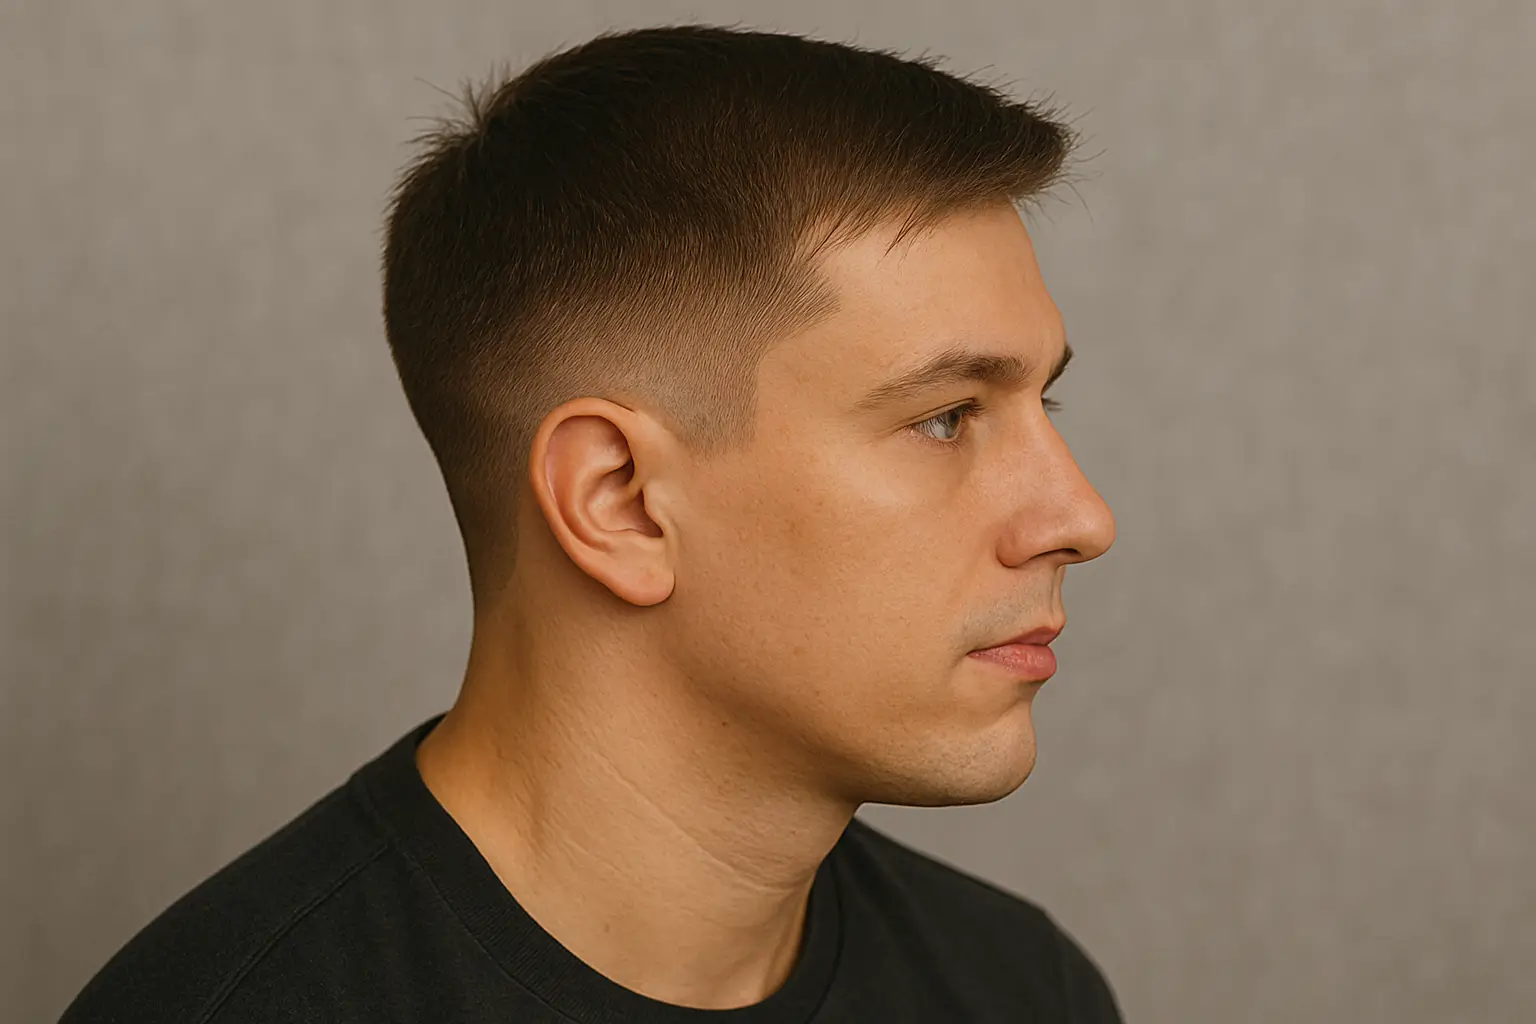
With straight hair, the key is adding layers and volume on top. Use a blow dryer and light wax to create movement.
Maintenance Tips
To keep your burst taper fade haircut looking fresh:
- Trim every 2–3 weeks: The fade can grow out quickly and lose definition.
- Use styling products: A little grooming cream or matte pomade helps control frizz and keeps your look neat.
- Moisturise your scalp: Especially around the tapered areas to avoid dryness or flaking.
- Brush or comb daily: This keeps the shape in place and maintains a sharp finish.\
Common Mistakes to Avoid
Even experienced barbers can make slip-ups if not careful. Here are a few mistakes to watch out for:
- Using the wrong guard sizes, which can create uneven fades.
- Not following the natural head shape when outlining the burst.
- Forgetting to taper the neckline and sideburns evenly.
- Over-blending, which can ruin the clipper fade gradient.
If you’re doing this at home, take your time and don’t rush the fade.
Why It’s a Popular Hairstyle in 2025
The burst taper fade is trending for a reason. It offers a clean yet bold look that works in both professional and casual settings. According to top UK barbers like Joe Mills of Joe & Co. London, “The burst fade is great for guys who want something unique without going too extreme. It’s modern, flattering, and suits most face shapes.”
Its rising popularity among athletes and style influencers also makes it a go-to hairstyle trend. Social platforms like Instagram and TikTok are flooded with tutorials and transformations using the burst taper fade haircut as a base.
Final Thoughts
A well-done burst taper fade haircut gives your look a sharp upgrade—whether you’re pairing it with a beard, textured top, or curly crown. It’s one of those haircut techniques that balances style, ease, and versatility. With the right tools, a bit of patience, and regular maintenance, this haircut can easily become your signature style.
Ready to try it? Whether you’re handing clippers to your barber or giving yourself a DIY makeover, this tutorial gives you the confidence to rock it with precision.